

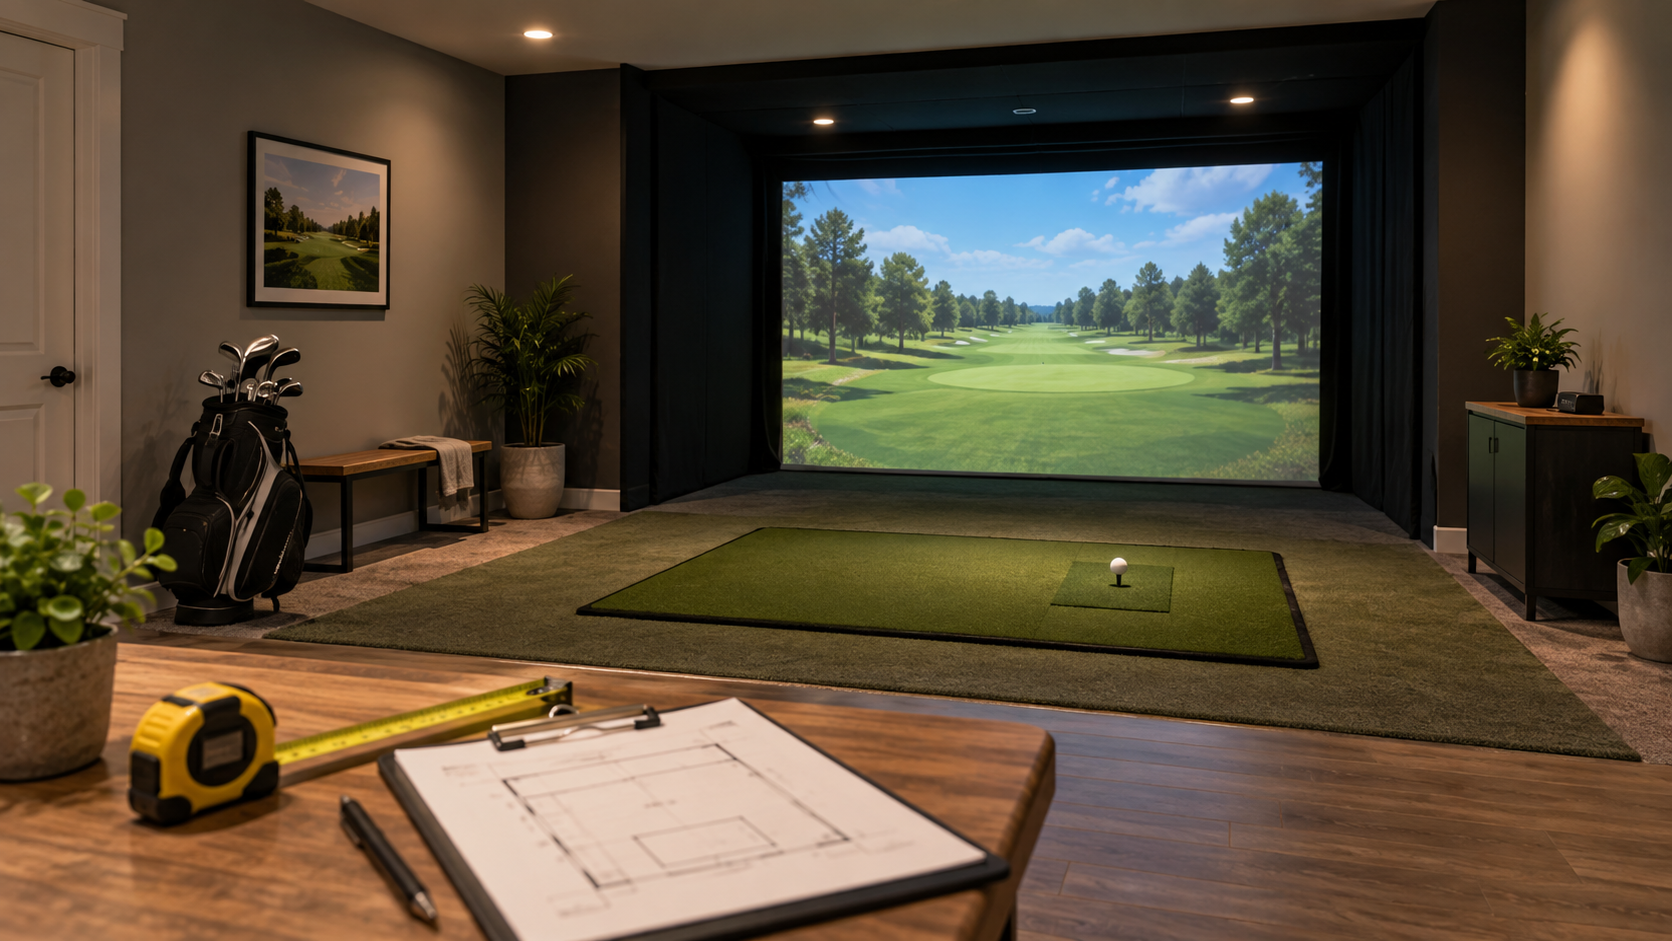
To decide whether a room can accommodate a golf simulator, check three things separately:
- Launch-monitor tracking layout: Does the equipment have the documented placement and ball-flight distances it needs?
- Golfer swing clearance: Can every intended golfer swing without contacting the room or equipment?
- Equipment installation: Can the screen, net, enclosure, and projector be installed according to their instructions?
Passing one check does not answer the others. A launch monitor may have enough space to track a shot while a ceiling beam sits in the swing path. An enclosure may fit between the walls while its screen lacks the space it needs behind it.
For a sense of scale, Garmin lists an indoor space at least 15 ft long × 8 ft wide × 8 ft high for the Approach R10. That is a product-specific minimum, and individual swing clearance still needs checking. Rapsodo’s MLM2PRO guidance instead specifies 6.5–8.5 ft behind the ball and 8 ft from ball to net. These figures describe different equipment setups; they are not universal room requirements.
Start by measuring the usable space, sketching a proposed hitting position, and recording the questions you still need to answer before buying.
Golf simulator room size at a glance
These are the room sizes makers publish. Comfortable sizes are what they suggest for a roomy setup; minimums are for one specific product.
| Source | Width | Depth | Ceiling | What it means |
|---|---|---|---|---|
| SkyTrak space guide | 12 ft (3.7 m) suggested; add 1–2 ft (0.3–0.6 m) for left- and right-handed use | 17 ft (5.2 m) suggested | 10 ft (3.0 m) gives ample clearance; many golfers find 9 ft (2.7 m) enough | General guidance for a roomy setup |
| Carl's Place measuring guide | 10 ft (3.0 m) with an offset hitting spot; 14 ft+ (4.3 m) to hit from the center, left- or right-handed | 18–20 ft (5.5–6.1 m) total; tee 10–12 ft (3.0–3.7 m) from the screen; screen 12–16 in (30–41 cm) off the back wall | 10 ft+ (3.0 m) | Carl's planning guidance, not a guaranteed fit |
| Rapsodo ceiling height guide | 14 ft (4.3 m) | 17–18 ft (5.2–5.5 m) | 9 ft (2.7 m) minimum; 10–11 ft (3.0–3.4 m) for golfers over about 5'8" | Rapsodo's overall room target |
| Garmin Approach R10 | 8 ft (2.4 m) | 15 ft (4.6 m); monitor 6–8 ft (1.8–2.4 m) behind the tee, tee at least 8 ft (2.4 m) from the net | 8 ft (2.4 m) | Minimum indoor space for this launch monitor |
| SkyTrak 10' Studio enclosure | 11 ft (3.4 m) min; 12–14 ft ideal | 16 ft (4.9 m) min; 17–20 ft ideal | 9 ft (2.7 m) min; 9–10 ft ideal | Room needed for this enclosure |
The quick test: SkyTrak and Rapsodo both suggest a slow practice swing with your driver where the ball will sit. If you hesitate, or the club touches the ceiling, you need more room. Rapsodo's rule of thumb is a ceiling 6–9 inches higher than the top of your swing.
Check my room in the free builder →
Measurement checklist: start with the usable space
Measure around a proposed layout so each number has a clear reference point. Mark where the screen or net, ball, golfer, and launch monitor would sit.
Keep a simple room sketch alongside your measurements. Include fixed obstacles, movable storage, doors, and the equipment you already own. Mark each measurement as confirmed or estimated.
The worksheet below is Flag & Fringe planning guidance. Use it alongside the instructions for your selected equipment.
| What to measure | Where to measure | What to record or verify |
|---|---|---|
| Usable width | At the enclosure, hitting position, and backswing/follow-through areas | Restrictions from columns, shelving, furniture, or other obstacles |
| Usable depth | Along the proposed target line, including available space behind the device and impact surface | Proposed screen/net, ball, and launch-monitor positions |
| Effective ceiling height | Above the finished hitting surface and across the relevant swing area | Mat/platform thickness and the lowest relevant beam, light, track, or soffit |
| Golfer clearance | Around each intended stance and hitting position | Intended clubs, handedness, and any clearance that remains unconfirmed |
| Obstacles and moving parts | Wherever they could affect the golfer or equipment | Position, height, projection into the room, and operating movement |
| Equipment footprint | At the proposed enclosure, mat, and projector locations | Outside frame dimensions and manufacturer installation instructions |
| Shared use | Around parking, storage, access routes, and other room activities | What must remain accessible or operational |
Estimated measurements are useful for an early plan. Keep them marked as estimates so they do not quietly become purchasing assumptions.
Enter your room measurements in Flag & Fringe Studio →
Studio can compare them with available product facts and flag known dimensional conflicts. Swing and installation clearances require additional verification.
Usable width, height, and depth
How wide should a golf simulator room be?
Start with the clear width where the setup will actually be used. The widest wall-to-wall measurement may include space occupied by shelving, columns, or furniture.
Four parts of the layout affect usable width:
- Enclosure footprint: Check the outside frame dimensions, not just the impact screen’s width.
- Hitting position: Record where the ball sits relative to the room and target line.
- Stance area: Allow for the intended golfer’s position beside the ball, including both sides if left- and right-handed golfers will use the room.
- Swing area: Identify restrictions around the backswing and follow-through.
A centered and an offset hitting position use the room differently. An offset position may change what fits, but it does not automatically resolve swing clearance or product-alignment requirements.
For a shared room, SkyTrak's space guide suggests adding 1–2 ft of width so both left- and right-handed golfers can hit. A center hitting position lets both use the same screen.
Keep obstacles in their actual positions on the sketch. A column near the hitting position matters differently from shelving behind the screen, so simply subtracting obstacles from one total room width can hide where the real conflict is.
How much ceiling height does a golf simulator need?
Measure from the finished hitting surface to the relevant overhead obstructions. A mat or raised platform changes the golfer’s starting height.
Then check across the proposed swing area. A ceiling measurement taken in the center of the room may miss a beam, light fitting, garage track, or sloped section.
For each intended golfer, record:
- The planned hitting and stance position.
- The height of the mat or platform.
- The longest club they intend to use.
- The lowest relevant overhead obstruction.
- Whether swing clearance is confirmed or remains unresolved.
Golfer height alone cannot establish the required ceiling height. Club length, swing motion, stance position, and nearby equipment also matter.
As a starting point, Rapsodo's ceiling height guide says most simulators need at least 9 ft, and golfers over about 5'8" may need 10 or even 11 ft. Plan for the tallest person who will use the room. For low rooms, see our ceiling height guide.
The Garmin Approach R10 manual calls for adequate ceiling height and an unobstructed backswing and follow-through. Meeting a launch monitor’s published room minimum does not complete that check.
How much depth does the layout need?
Sketch the proposed layout from the rear of the room toward the target:
Space behind the device → launch monitor → device-to-ball distance → ball → flight distance → screen/net → required rear clearance
Allow for the device’s footprint, plus any required clearance and access space behind it.
The golfer’s swing, enclosure, and projector also need to fit within this layout. They may overlap the same room depth rather than forming separate lengths to add to the end.
Use the reference points in each manufacturer’s instructions. Device-to-ball distance, golfer-to-screen distance, and clearance behind the screen answer different questions.
Why launch monitors need different amounts of space
Launch monitors have different placement and tracking instructions.
The table below compares documented examples. Its distances describe equipment placement and tracking; complete room suitability also depends on swing clearance and installation.
| Product and scenario | Device position | Ball-flight or impact-surface guidance | Key qualification |
|---|---|---|---|
| Garmin Approach R10, indoors | 6–8 ft behind the tee | Tee at least 8 ft from the net | Separate room minimum also published |
| Rapsodo MLM2PRO, general indoor setup | 6.5–8.5 ft behind the ball | 8 ft from ball to net | Additional installation clearances excluded |
| Rapsodo MLM2PRO, club data | Approximately 7.5 ft behind the ball | Follow current indoor setup instructions | Use the specified club-data hitting zone |
| FlightScope Mevo+, limited flight | Mevo+ manual currently linked by FlightScope: 8 ft behind the tee | At least 8 ft of ball flight | Confirm instructions for your exact model and use |
| FlightScope Mevo+, recommended indoor full swing | Product FAQ: 7–9 ft behind the tee | 13 ft of ball flight recommended | Recommendation differs from limited-flight minimum |
| Foresight GC3S, camera-based contrast | 16–24 inches from the hitting zone, beside it | Not specified in these placement instructions | Separate swing and impact-protection checks |
Garmin Approach R10: a published room minimum
Garmin’s indoor placement guidance lists a space at least 15 ft long, 8 ft wide, and 8 ft high. Garmin also notes that using a larger space can improve accuracy.
Those figures apply to the R10. Check them alongside the manual’s 6–8 ft device-to-tee distance and at least 8 ft from the tee to the net.
Garmin also requires free space behind the impact surface, coverage for high or errant shots, and padded frames to help reduce ricochet. Those precautions still apply once the tracking distances fit.
Rapsodo MLM2PRO: separate the placement distances
Rapsodo’s product FAQ specifies 6.5–8.5 ft behind the ball and 8 ft from ball to net. It summarizes the indoor space as a little more than 14 total feet.
Using the component distances, Flag & Fringe’s calculation from Rapsodo’s published figures is a 14.5–16.5-ft device-to-net span. That subtotal excludes additional installation clearances and should not be treated as complete room depth.
Rapsodo also says taller players may need the device farther back to capture their entire swing video. That note concerns video framing; it is not a universal rule linking golfer height to tracking depth.
For club data, Rapsodo’s alignment and leveling guidance specifies approximately 7.5 ft and the orange club-data hitting zone. The zone varies with handedness.
The article gives inconsistent metric equivalents for 7.5 ft. Confirm the current placement in Rapsodo’s setup instructions or app before finalizing a tight layout.
FlightScope Mevo+: minimum and recommended spacing
The Mevo+ manual currently linked by FlightScope shows 8 ft from sensor to tee and at least 8 ft of limited ball flight in its setup diagram on PDF page 17.
The product FAQ gives a recommended indoor full-swing layout of 7–9 ft behind the tee with 13 ft of ball flight.
Keep the limited-flight minimum and recommended indoor layout separate. Before purchasing for a tight room, confirm which instructions apply to your exact Mevo+ model and intended use.
The manual also requires the area between the device and ball to remain clear of people and objects; see PDF page 19. Include that space when planning storage and shared room use.
Foresight GC3S: a camera-based contrast
The GC3S manual, page 6, specifies placement 16–24 inches from the hitting zone. When using a mat, the device should be at the hitting-surface level.
This nearby placement changes the layout compared with rear-positioned monitors. The placement instructions do not supply a ball-to-screen distance, so confirm that distance through the selected impact-protection instructions.
Follow each monitor’s own height and leveling directions. The GC3S instruction should not be applied automatically to another product.
Screen, net, and enclosure clearance
How far should the ball or golfer be from the screen?
Check the launch monitor and impact-protection instructions separately, then make sure the proposed position satisfies both.
A monitor’s ball-flight minimum answers a tracking question. A screen or net manufacturer may specify a different hitting distance, rear buffer, mounting arrangement, or enclosure requirement.
For example, Carl’s Place bounce-back guidance advises positioning the screen itself 12–16 inches in front of any surface and standing at least 10 ft from the screen when swinging to help reduce bounce-back.
The golfer’s standing distance should not be relabeled as an exact ball-to-screen distance.
Carl’s also explains that its C-Series frame provides about a foot of buffer behind the screen. Check the complete assembly geometry so you do not count that space twice.
Before choosing impact protection, verify:
- The enclosure’s outside frame dimensions.
- Required clearance behind the screen or net.
- The instructed hitting position or distance.
- Side and overhead coverage for high or errant shots.
- Frame protection, screen tension, and mounting instructions.
Use the instructions for the exact product. Carl’s guidance does not establish the requirements for another manufacturer’s net or screen.
Handedness, projectors, and obstacles
Plan for every intended golfer
If left- and right-handed golfers will share the simulator, mark both stance positions and swing areas.
Device support for both handedness options does not establish that both golfers fit in the room. Switching golfers may also involve product-specific positioning or settings.
Check the intended positions against nearby walls, furniture, equipment, and the enclosure. Keep any unresolved alignment or clearance question on the plan.
Check the projector’s actual placement
A projector’s fit depends on the image you want and the exact model’s optics.
BenQ’s projector guidance explains that throw ratio relates projector-to-screen distance to image width. Using an image aspect ratio different from the projector’s native ratio can change the calculation.
Use the manufacturer’s calculator and installation manual to check:
- Intended image width and aspect ratio.
- Available lens-to-screen distance.
- Zoom and image-offset constraints.
- Mounting and ventilation requirements.
- Swing clearance and potential shadow conflicts.
A projector you already own belongs in the plan, but its model and proposed lens position still need checking.
Treat obstacles as part of the setup
Mark doors, lights, columns, HVAC, shelving, and other restrictions on the same sketch as the golfer and equipment.
For moving parts, record the operating path. A door that clears the equipment while closed may create a conflict as it opens.
A physically clear layout also does not automatically confirm that every launch monitor’s tracking environment is suitable. Check the manufacturer’s current environmental guidance for the model you are considering.
Will a golf simulator fit in a garage?
Apply the same three checks, then account for the garage’s other uses:
- Door movement: Record the door’s complete operating path if it must remain functional.
- Tracks and opener: Locate overhead hardware relative to the swing area and proposed mounts.
- Parking and storage: Identify what stays in the garage and what must move.
- Access and setup: Keep necessary doors and access routes usable in the planned arrangement.
A garage’s overall dimensions do not capture these restrictions. Measure the space available when it is configured for simulator use.
What this means for your setup
Your measurements and product instructions should lead to one of three practical outcomes.
A documented conflict: A required distance or equipment dimension exceeds the usable space. Revisit the layout or equipment choice before purchasing.
A plausible layout with checks remaining: The known dimensions fit, but swing clearance, impact protection, projector placement, or another installation detail remains unresolved. Record the question and the instruction or assessment needed to answer it.
Insufficient information: Measurements are estimated, an equipment model is unknown, or a necessary fact is missing. Continue planning while keeping that uncertainty attached to the decision.
These are Flag & Fringe planning outcomes. They help organize the next step; they do not certify a finished installation.
Apply the same checks to equipment you already own. A projector, mat, launch monitor, or net can reduce the shopping list when it works with the proposed setup.
What Flag & Fringe Studio can and cannot check
Flag & Fringe Studio uses your clear room width, depth, and ceiling height, together with whether the measurements are confirmed or estimated.
It also records room type, selected obstacles and their measurement confidence, handedness, display path, and existing or selected equipment. Where product facts are available, it compares dimensions and identifies known conflicts, including insufficient depth for documented tracking distances.
Studio currently does not collect:
- Precise obstacle coordinates.
- Actual ball-to-screen distance.
- Mat or platform thickness.
- Individual swing geometry.
- Projector mounting geometry.
Marking an obstacle as “Measured” records your confidence. It does not enter the obstacle’s exact location into a geometric room model.
Studio cannot certify that a complete swing clears the room, that a moving garage door clears the installation, or that a screen has adequate deflection space and containment. Anchoring, mounting, electrical work, and final projector placement also require separate verification.
Use Studio to organize measured inputs, compare available product facts, and keep unresolved questions visible.
Plan your setup in Flag & Fringe Studio →
Bring your room measurements and the equipment you already own. Confirm the remaining swing and installation requirements before purchasing or using the setup.
Golf simulator room size FAQ
What size room do you need for a golf simulator?
There is no single minimum. For a roomy setup, makers suggest about 12–14 ft wide, 17–20 ft deep and a 10 ft ceiling. Some launch monitors list less: Garmin's minimum for the R10 is 15 ft long, 8 ft wide and 8 ft high. Your swing, flooring and obstructions decide the rest.
What is the minimum ceiling height for a golf simulator?
Rapsodo says most simulators need at least 9 ft. SkyTrak says 10 ft gives ample clearance for most golfers. Your own swing decides it: measure from the hitting mat, not the floor.
How wide should a golf simulator room be?
SkyTrak suggests 12 ft for a spacious feel and 1–2 ft more if left- and right-handed golfers share it. Rapsodo and Carl's Place both point to 14 ft.
How deep should a golf simulator room be?
SkyTrak suggests 17 ft and Rapsodo 17–18 ft. Radar units that sit behind the ball need more depth than units beside the ball, so check your launch monitor's setup guide.
Is 12×12 big enough for a golf simulator?
Often not for a full swing with a radar unit behind the ball. Garmin lists 15 ft of length as the R10's indoor minimum, and makers suggest 17–20 ft of depth for a roomy setup. A launch monitor that sits beside the ball removes the space behind it, but you still need swing room and distance to the screen: Carl's Place suggests 10–12 ft from tee to screen. Check your exact monitor in the table, then run your numbers in the builder.
Can I put a golf simulator in my garage?
Often, yes. Carl's Place calls 14 ft wide, 18 ft deep and 10 ft high ideal for a garage. Check the door tracks, opener and parking first. Our garage simulator planning checklist covers the rest.
Sources and related guides
Manufacturer sources
- Garmin Approach R10: Preparing for a Shot
- Garmin Approach R10 placement guidance
- Rapsodo MLM2PRO product FAQ
- Rapsodo MLM2PRO club-data alignment and leveling
- FlightScope Mevo+ product specifications and FAQ
- FlightScope Mevo+ manual currently linked by FlightScope
- Foresight GC3S manual
- Carl’s Place impact-screen bounce-back guidance
- SkyTrak: plan your space
- Rapsodo: recommended ceiling height for a golf simulator
- Carl's Place: DIY garage golf simulator
- Carl's Place: measuring your space for an indoor golf simulator
- BenQ golf-simulator projector FAQ
For the broader process of choosing a display path, checking owned equipment, and planning missing components, read the Home Golf Simulator Planning Guide.
Go deeper on one part of the room: ceiling height, garage simulators, hitting mats and projector throw ratio.
See Flag & Fringe’s editorial standards for how we distinguish sourced facts, planning guidance, and unresolved information.